Screen Printing>
219104:60*70cm(24*28In) Precise Vacuum Exposure Unit 110V Screen Printing Machine
Unit:
Set
Price:
C $769.00
Weight:
41.00kg
QTY:
     

Similar products

006596:Cylinder Screen Printing Machine Cylindrical Silk Screen Printing Press for Mugs Pen Cup Bottle 6 Inches Diameter

955791:pHqghUme

219201:Desktop Type Simple Screen Printing Machine

219202:Simple Screen Printing Butterfly Frame Hinge Clamp

219403:Screen Printing Kit: 4 Color 4 Station Printing Machine+ Simple Material Kit

新建网页 1 新建网页 1

Vacuum Exposure Unit 110V

ASC6050ZK Precise Vacuum UV Exposure Unit is equipped with special UV lamps and auxiliary vacuum suction device. After putting the screens and well printed transparency film on the glass, close its cover and let it work after set the needed vacuum and exposure time, then it will make the screens and transparency film close on the glass tightly by evacuating the air of the vacuum charmer emerging from the rubber blanket. When the set time is up, it will deflate automatically, and then the exposure is finished. Please cut off the power supply.

You could know more information by click the video link


Working principle


Screen printing screens are coated with a light sensitive emulsion using a scoop coater. When the emulsion is dry, place your image with a positive print on the screen. Once you burn the screen, the emulsion that did not get any UV will wash out of the screen exposing the tiny pin holes. The surrounding areas that were exposed to UV will be cured. Hence the ink will pass through screen onto your substrate.


Special Tips
 

The vacuum pumping area (sizes of the rubber blanket) is 23.6”*27.6” (60*70cm), but the optimum screen exposing size is within 19.7”*23.6”*1.6” (50*60*4cm) by the outer sizes. (If your screen is oversized, please buy cautiously!)


Operation Instructions
 

1. Connect the power supply; Turn on the switch of “POWER”;

2. Set the vacuum pumping time

1) Press “VACUUM”, the left indicator light (yellow) is lit up;

  2) Press “ + ” or “ – ” in the “TIME CONTROL” area to set the vacuum pumping time according to your needs.

(For first-time users, please put an empty screen in the middle of the rubber inner cavity, just set 40 seconds for test; if the pointer of the vacuum gauge could reach or pass the middle of the green area, that’s ok. If not, please extend the time and test again until having reached the requirement.

3. Set the exposure time

  1) Press “EXPOSURE”, the left indicator light (red) is lit up;
   2) Press “ + ” or “ – ” in the “TIME CONTROL” area to set the exposure time according to your needs.

(Exposure time varies according to the coated photosensitive emulsion. Please just set 300 seconds for test and then reset a suitable time according to the exposure effect.)

4. Once finished the above settings, you could start exposure just as follows

1) Put the screens coated with photosensitive emulsion and the printed transparency film on the glass.
2) Put the air suction pipe in to the screen;
3) Close the cover and click the “START” button, then it will vacuum pump and expose automatically according to the settings;
4) When the set time is up, it will deflate automatically; Open the cover and exposure is finished. Please just cut off the power supply

5. Functions of other keys

1) “RESET” for cancelling the previous settings: if you want to reset the vacuum / exposure time, just press “VACUUM” / “EXPOSURE” and the left indicator light is lit up; Then press “RESET” and the original settings will turn to “ 0 ”; Next, you could set according to your needs.
2) “BACK” for stop working: if you want to stop vacuum pumping or exposure, just press the “BACK” button, that’s ok.


Breakdown Maintenance
 

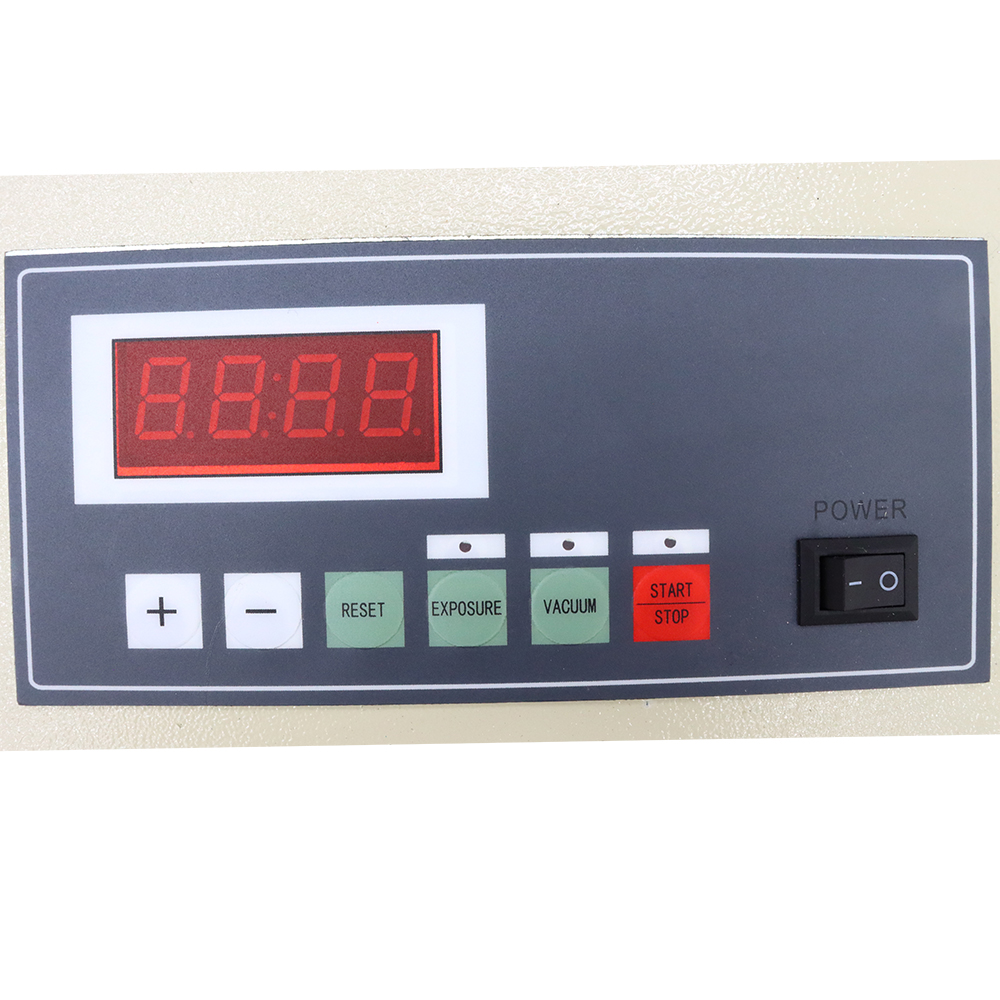
1. If the digit was not displayed once turned on the switch

a. Please check whether the power supply is good or not

b. Please check whether the bottom fuse wire is loose, burned-out or not
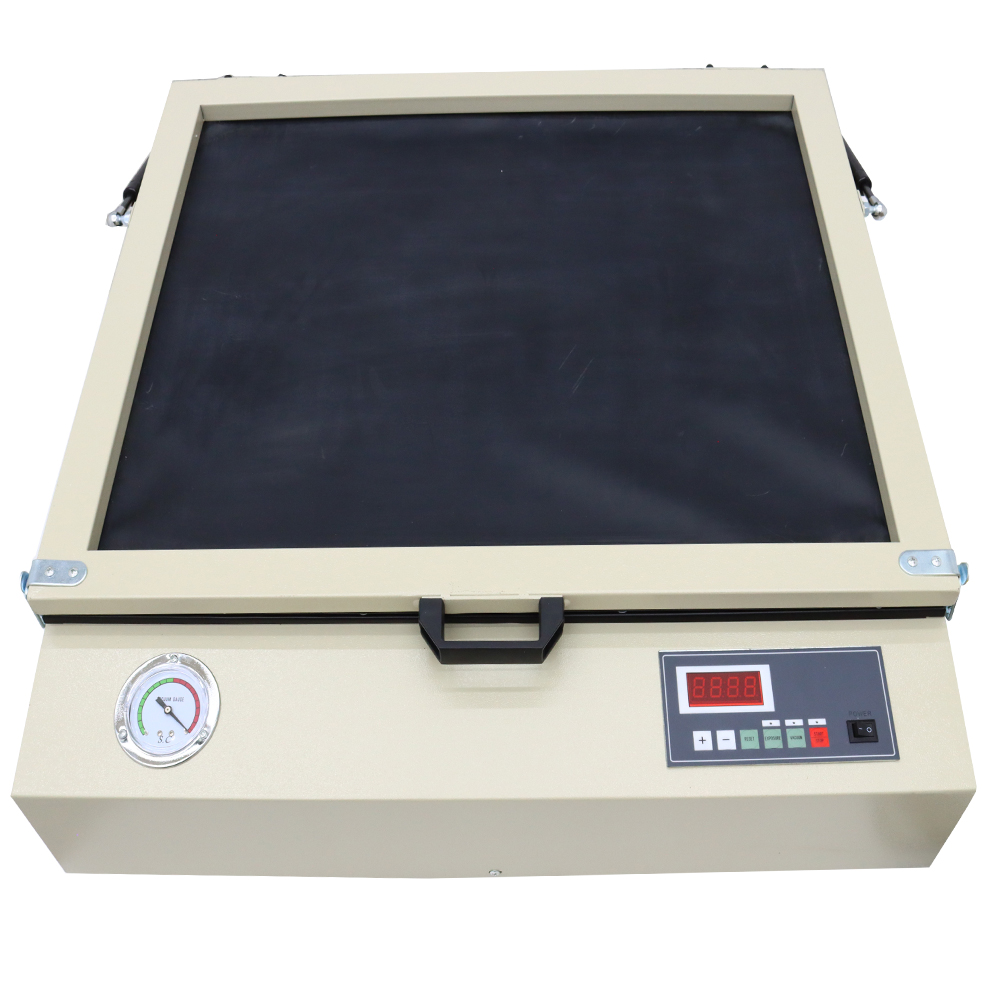
2. If the vacuum pump didn’t work after putting the screen on the glass, closing the cover and pressing the “STRAT” button:

Please check whether the leading wire of the vacuum pump is well connected or not

3. If it didn’t reach the requirement even the vacuum pump works well

a. please checks whether the air suction pipe is well fastened or not

b. Please check whether the rubber blanket and its edgings were good and seal or not.

If there were some splits on the rubber blankets or edgings, or some cracks of the edging adhesives, please fix them up with the sealing adhesive.

4. If the lamps were not lit up

a. Please check whether your voltage was too low or not

b. Please check whether the lamp ends were blackened or not caused by lamp ageing

c. Please check whether your set exposure time was 0 second

dPlease check whether the ballast was broken or not.


https://buyyou.net/cbe/data/prd/219/104/03.jpghttps://buyyou.net/cbe/data/prd/219/104/04.jpg
Notice
 

1) Please cut off the power supply when you need to change the lamp or the ballast

2) Avoid contact with hard objects to prevent glass surface scratching

3) Consistent cleaning is needed according to your using frequency and operational environment, especially for the glass, vacuum rubber blanket and edgings


Essential Parameters


·         Input Voltage: 110V

·         Exposure area: 23.6”*27.6” (60*70cm) (Optimum screen exposing size is within 19.7”*23.6”*1.6” (50*60*4cm) by the outer sizes.)

·         Vacuum Degree: 0.08Mpa

·         Illumination Uniformity: 85%

·         Lamp Power: 240W

·         Vacuum Pump Power: 60W

·         Vacuum Time Setting Range: 0-999s

·         Exposure Time Setting Range: 0-999s

·         Machine Size: 33.5”*32.5”*7.5” (85*82.5*19cm)

·         Package size: 35”*33.5”*9.8” (88*86*24.5cm)

·         Net weight: 66Lb / 30kg

·         Gross weight: 90.4Lb / 41kg

Item Included:

Item#

Description

QTY

Unit

Note

219104

Vacuum Exposure Unit

1

set

Default Voltage is 110 V

无标题文档

About Us Product Service Shipping Payment Privacy refund Warranty

Copyright ASC365.com All Rights Reserved