|
Connect the
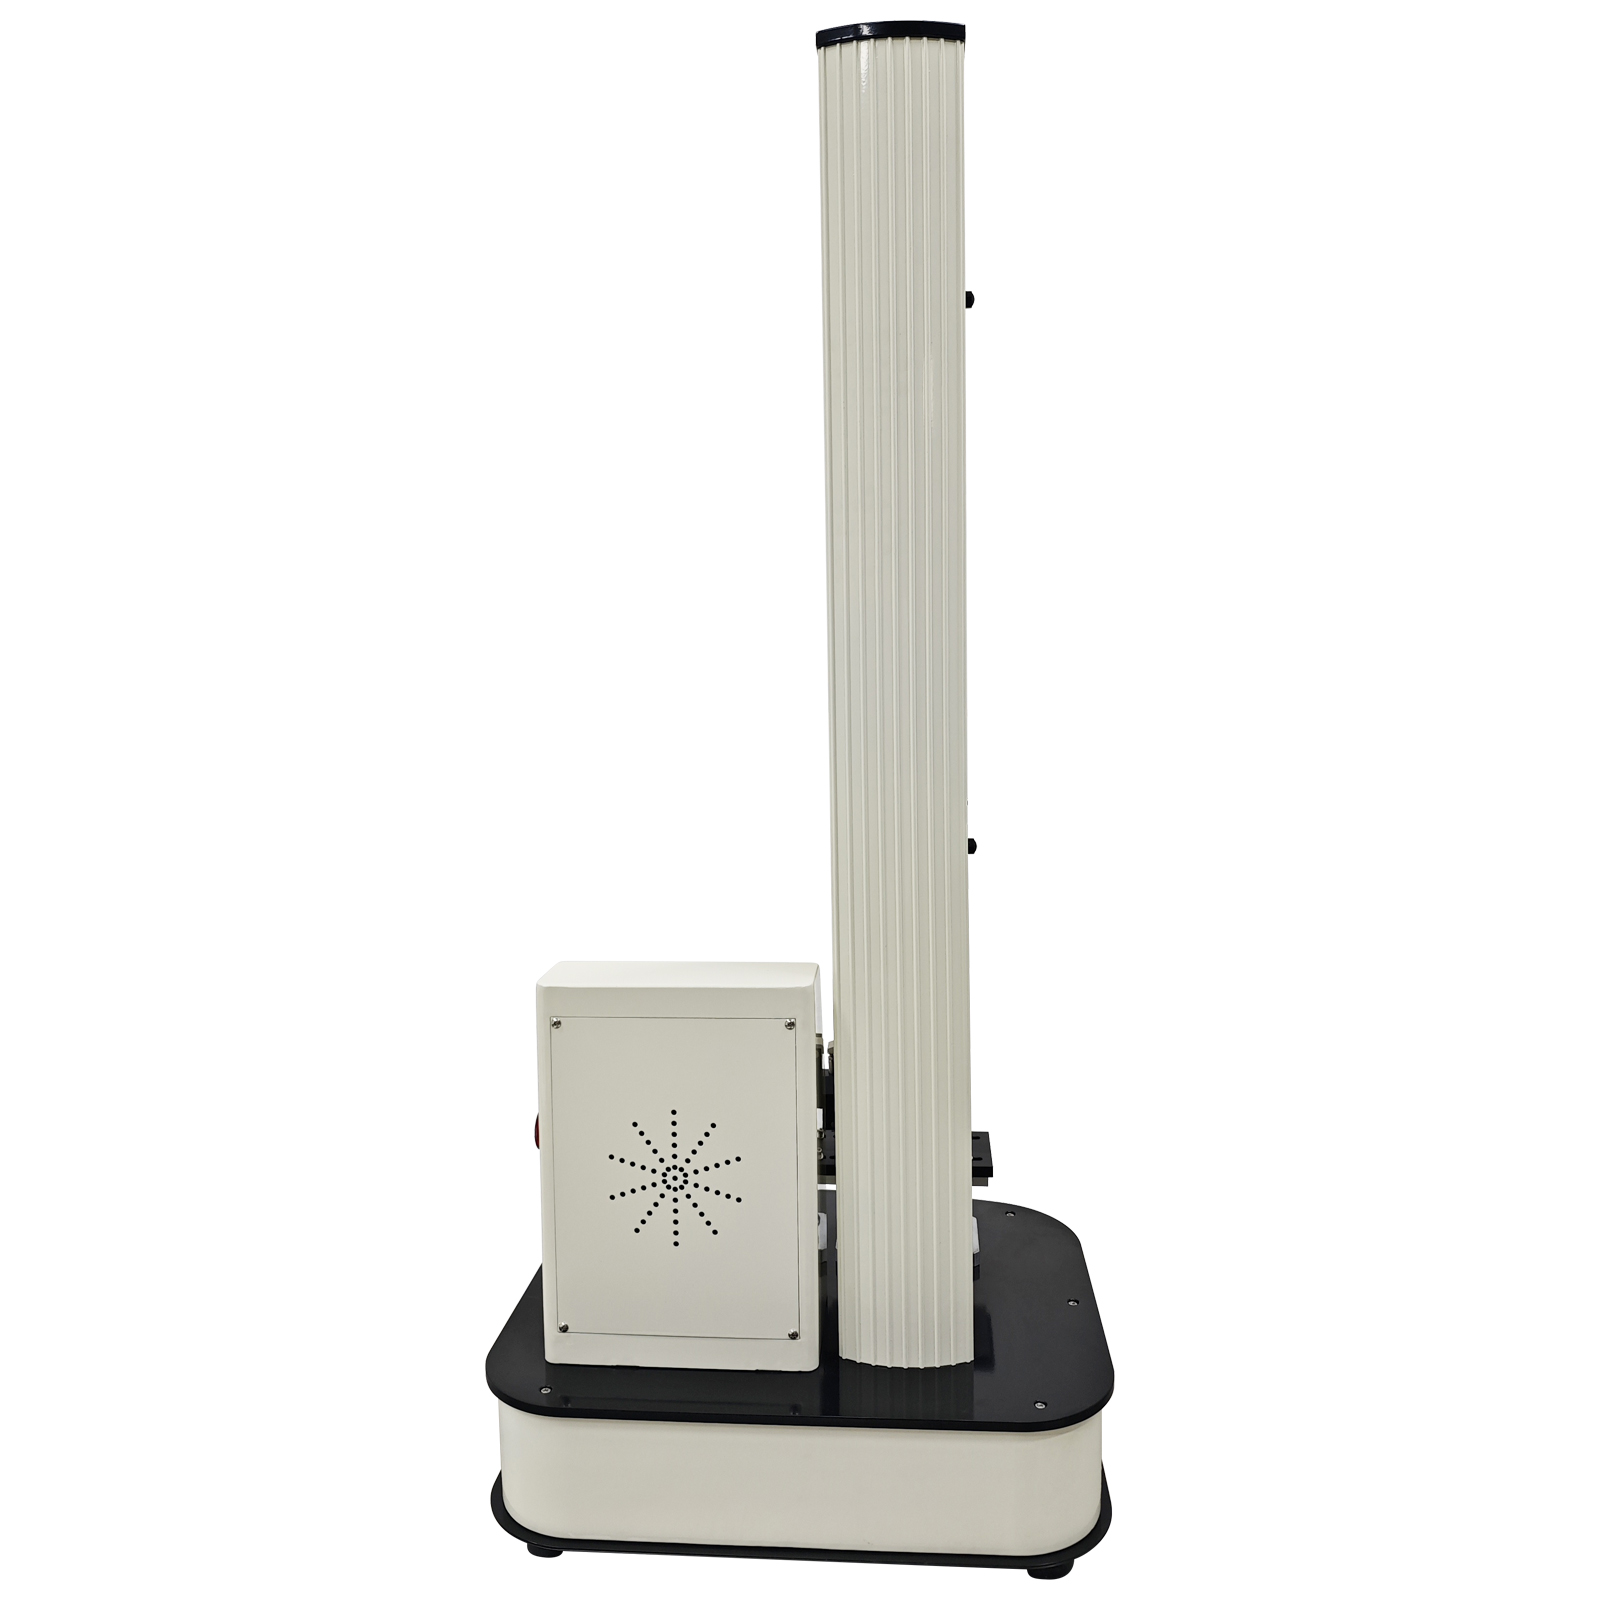
220V power cord, rotate the red emergency stop switch on the
side, and turn on the red switch at the rear of the machine. The
display will illuminate, and the machine will directly enter the
test interface upon startup.
1. “Up” and
“Left” buttons: Control upward/leftward movement of the machine.
2. “Down” and
“Right” buttons: Control downward/rightward movement of the
machine.
3. “Test”
button: Execute the test.
4. “Stop”
button: Press during movement to halt the machine; press during
testing to terminate the test.
5. “Reset”
button: Resets force, peak force, displacement, deformation, and
other values to zero.
6. “Return”
Button: Returns the machine to the position it was in when the
“Reset” button was last pressed. During the return process, you
can press the “Stop” button at any time to halt the machine.
Pressing the “Return” button again will resume the return
process. Alternatively, press the “Zero” button to stop the
machine. However, after stopping with the “Zero” button,
pressing the “Return” button will not initiate the return
process again. This is because the program determines that the
return operation is complete when the “Zero” button is pressed,
causing the machine to stop without returning.
7. “Print”
button: Prints the current maximum force and deformation values.
8. “Take
Point” button: Press during testing to execute manual data
acquisition.
9. “View”
button: Accesses the test result review interface.
10.
“Settings” button: Enters the pre-test interface for configuring
specimen information and test methods.
11. “Force,”
“Maximum Force,” “Displacement,” “Deformation” buttons: Clicking
any of these four buttons allows selection of the button text to
toggle the real-time display of desired parameters.
  |